How I Link Trails for MTB Rides

How I Link Trails Together for a Custom MTB Adventure
One of my favorite ways to keep my rides exciting is by linking different trails together. Whether I’m in the mood for a full-on workout with plenty of climbing or just chasing that rewarding downhill, piecing together trails to create a unique ride is always satisfying.
For me, half the fun is exploring new routes and figuring out which direction each trail is best ridden. Sometimes, it’s all about the grind up, knowing an epic descent awaits on the other side (Up Five Mile Gulch down Watchman and 3 Bears). Other times, you just want to skip the climb and dive straight into the action (self shuttle Sweet Connie). In this blog, I’ll share some tips on planning your own MTB loops, linking climbs to descents, and getting the most out of every ride.
Let’s get creative, stop riding the same old loop and build some custom adventures!
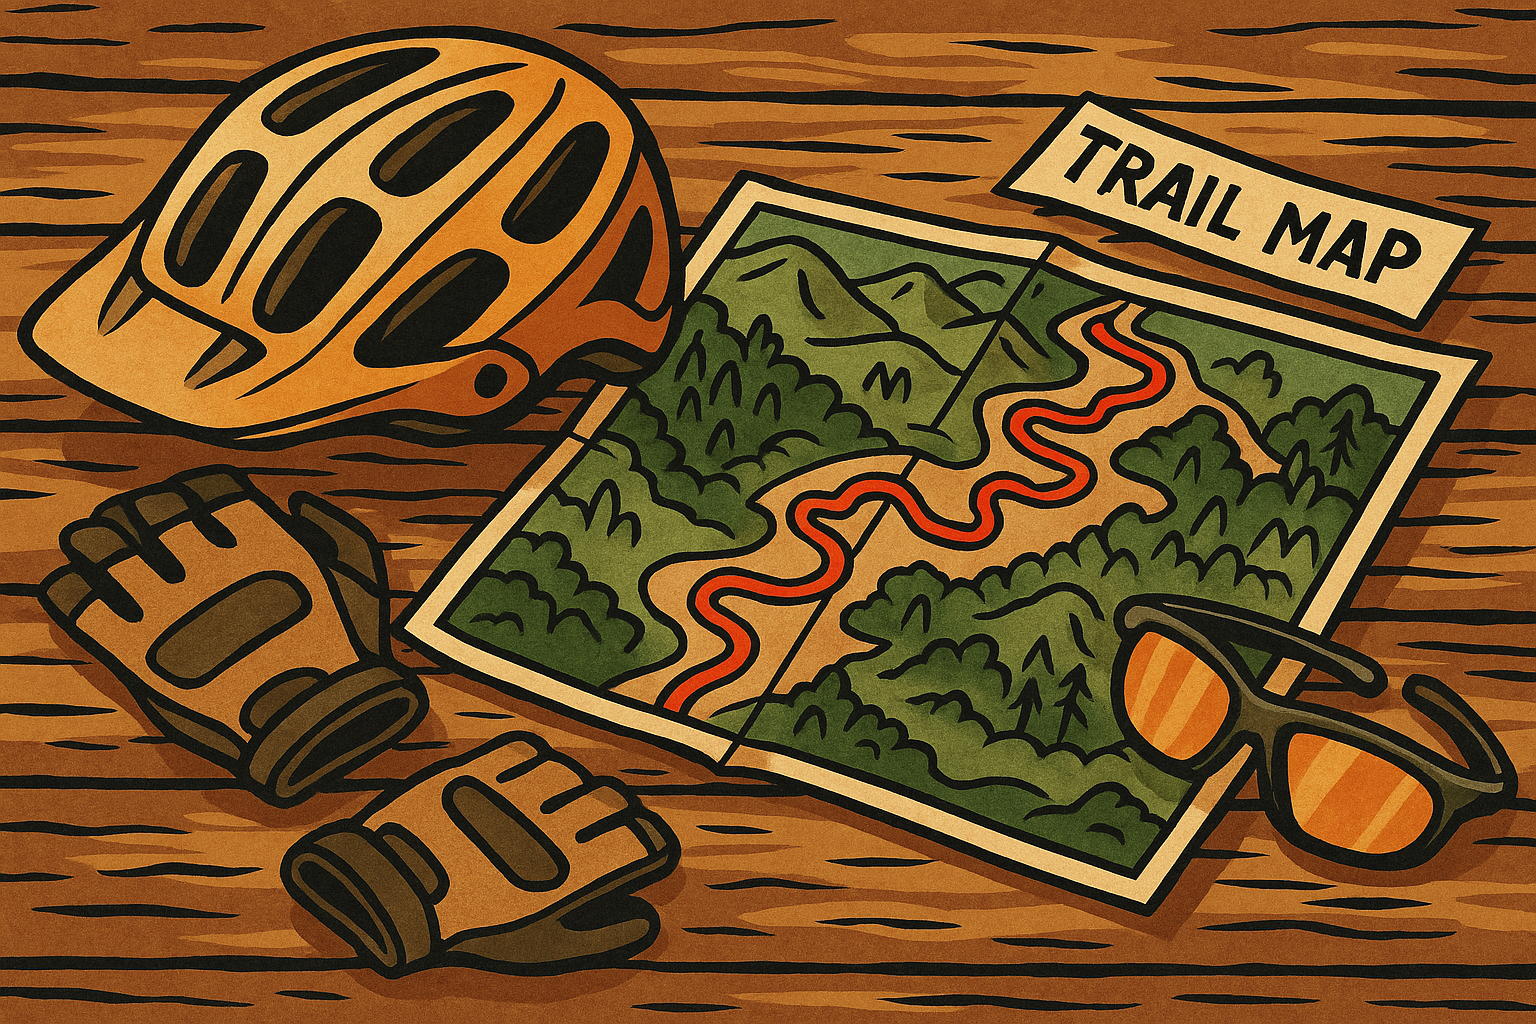
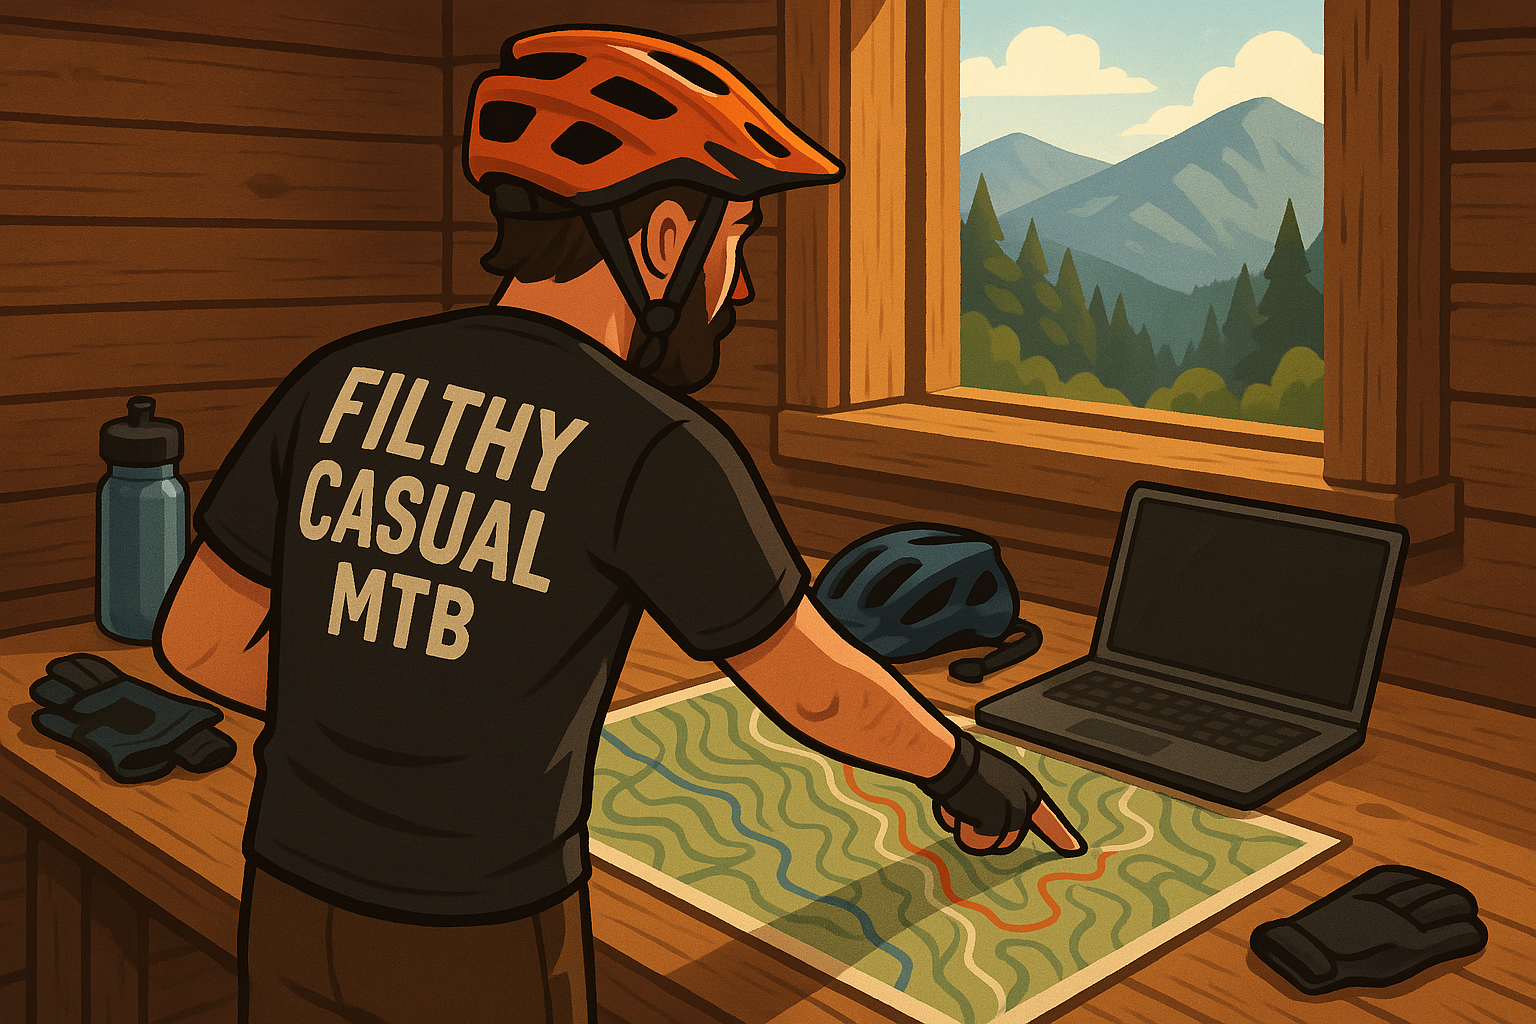
1. Start with a Map
First things first. You need to be familiar with your local trail map. I think it's very important that you learn your local trail names and not be completely dependent on your phone. Apps like Strava or TrailForks are great for getting an overview of the trails in your area, but personally I really love a physical map as well. If you’re riding in the Boise area, check out Ridge to Rivers' interactive map! It's an essential tool for local riders to know current trail conditions. Knowing where you're going and how to get back to your vehicle is key, and having offline maps is a smart move in case you hit an area with spotty cell service, or you crash and damage your phone.
But here’s the trick: use the map as a guide, not a strict rulebook. Some of my best rides have happened because I decided to take a random turn or explore a trail I hadn’t planned on. Don’t be afraid to improvise! Just make sure you’ve got a general sense of where the trails lead so you can get back safely. And always let someone know where you’ll be. I personally write down my route on a whiteboard at home, and my partner has my Strava beacon so they can track my location. Whether you use a tracking beacon or just text your plan to a family member, it’s important to inform people where you'll be and when you plan to be back.
Tip: Always check the trail difficulty and elevation profile. You don’t want to accidentally link a mellow flow trail to a technical black diamond descent--unless you’re into that kind of thing!

2. Play with Climb-Reward Ratios
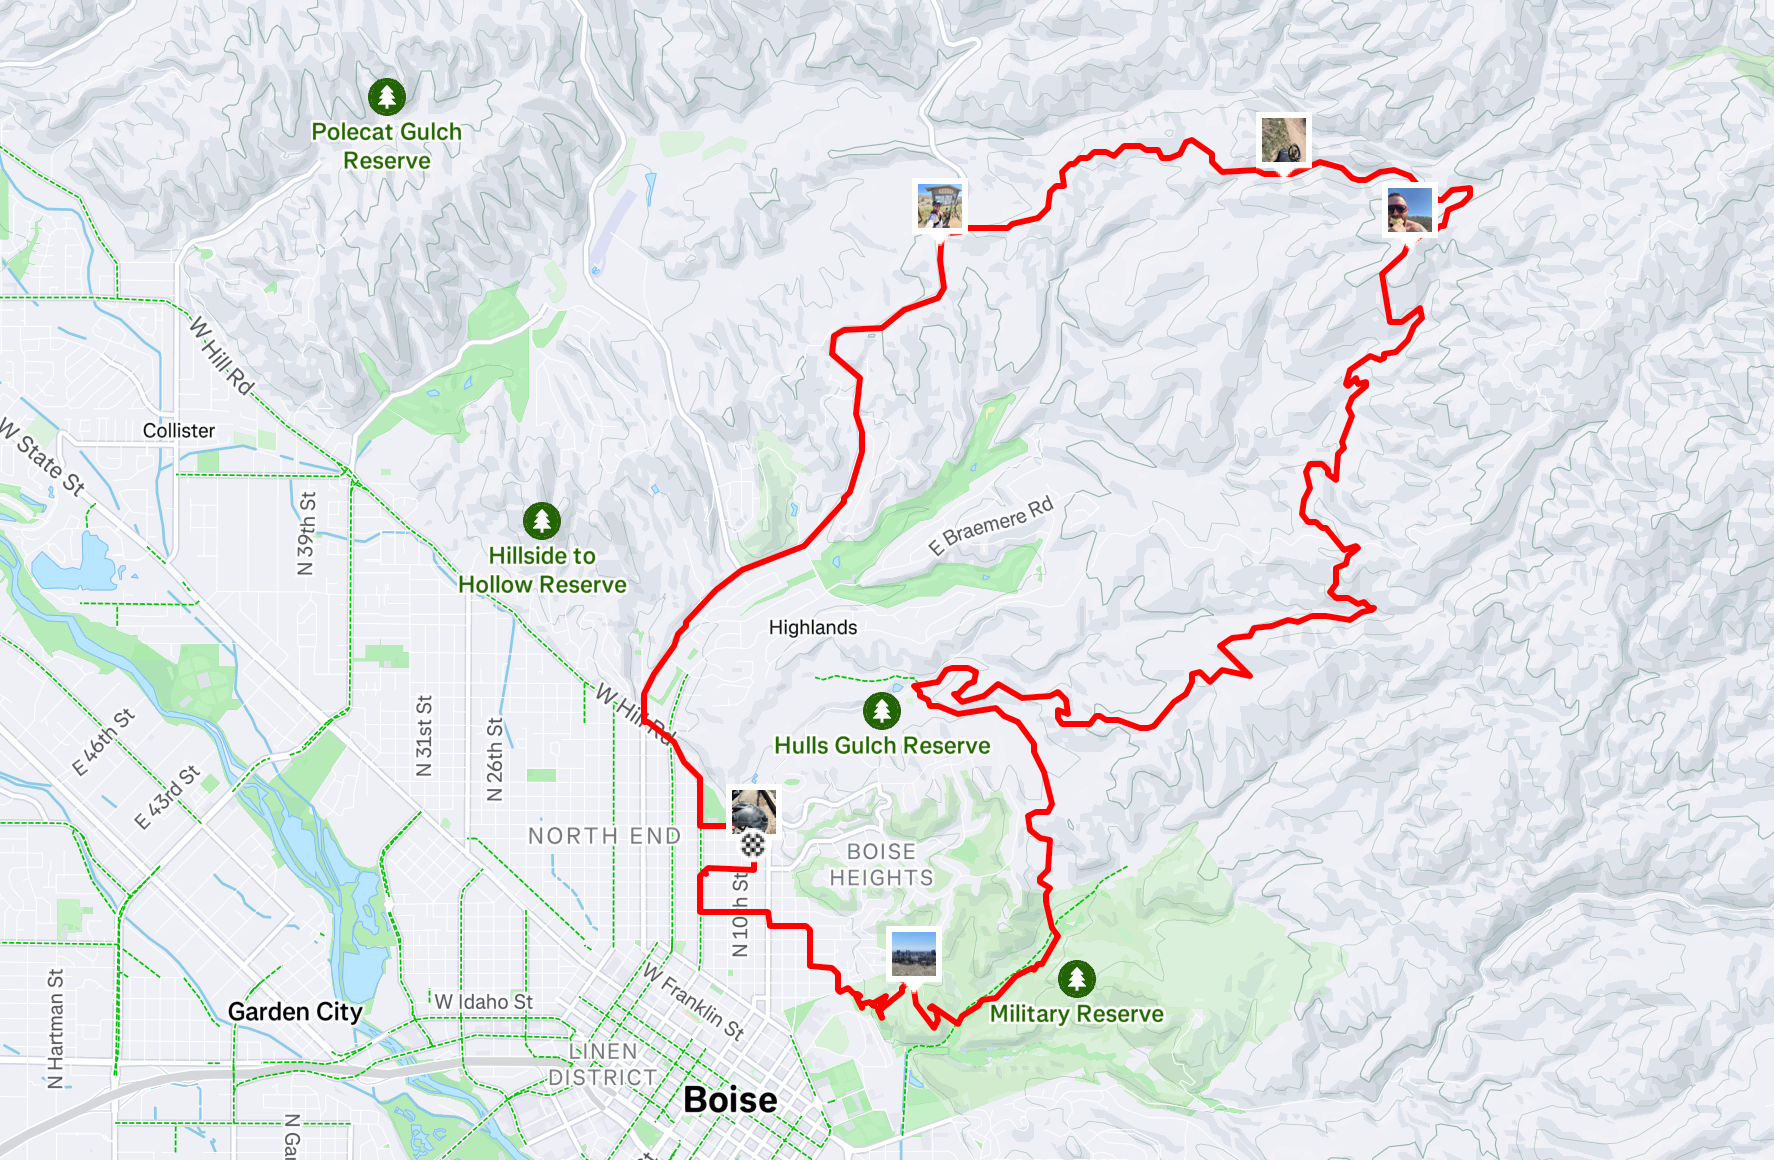
Not all rides are meant to be a suffer fest. Sure, sometimes you are in it for the workout, and other times, you’re just chasing the fun flowy descent. I like to think of it as balancing my return on the effort I need to put in. If you’re linking trails for a longer ride, throw in some steady climbs that lead to rewarding downhills. One of my favorite long descent routes for this is climbing Up Five Mile Gulch to Watchman Trail, then hitting the downhill on 3 Bears all the way back to the bike park (check out the GoPro footage here). It’s the perfect combo of grind and reward. This route does require a self shuttle but a shorter version of this route without the self shuttle is up Shaw Mtn Road to 3 Bears and down the 3 Bears ridge back to your vehicle.
Self shuttle route:
Riding up the road route:
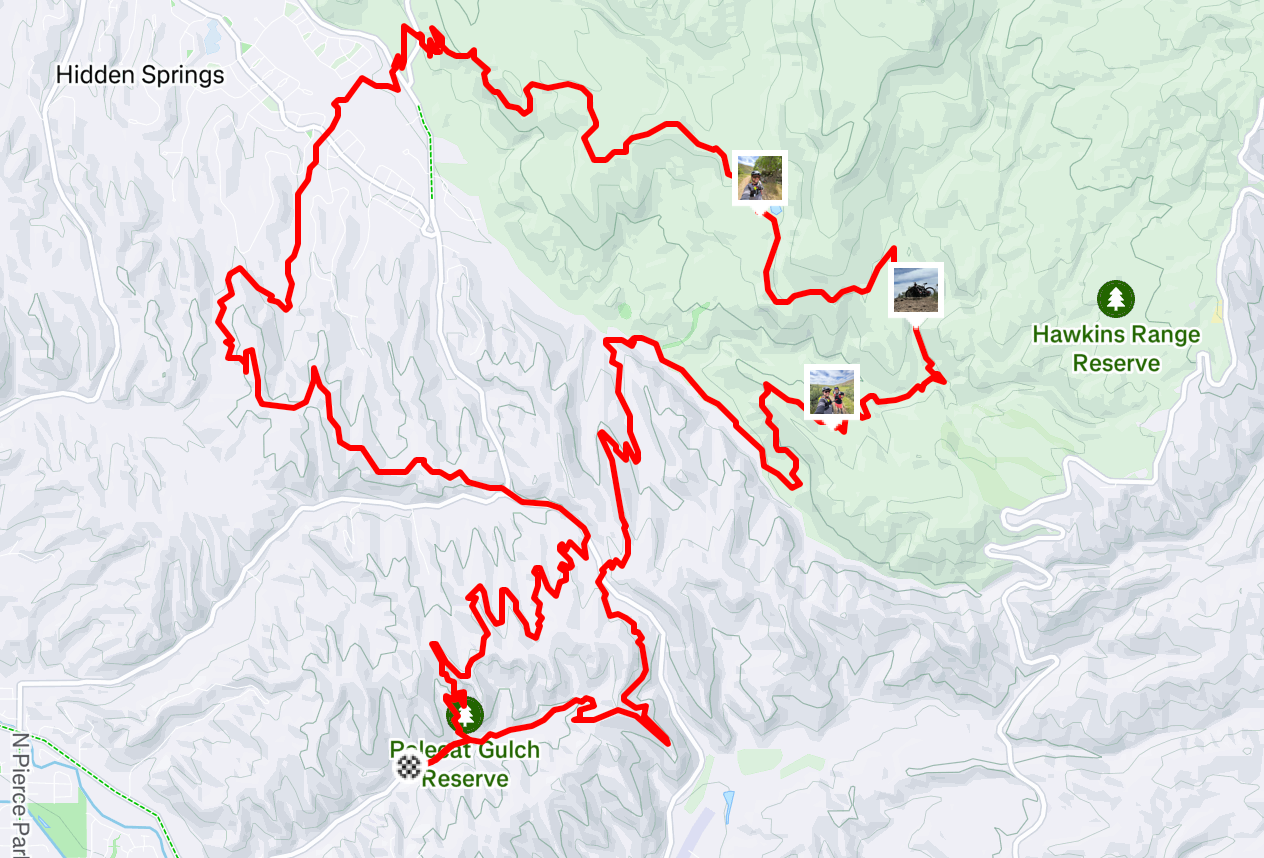
If you’re out for a more casual ride, stick to shorter climbs and focus on maximizing flowy, fun descents. For example, Up Kestrel to Crestline and down Red Cliffs is a solid option when you're craving short burn, and good flow. And if you're looking for conditioning, shorter directional loops like Hawkins or Polecat are great.
Hawkins has a steady flow right at the start, with the climb waiting for you at the end to finish off the ride strong. Polecat rotates direction each year so it's always a new challenge each trip out.
Tip: A good rule of thumb is to plan at least one good climb per ride. It helps keep your cardio on point and you can't beat the feeling of conquering a gnarly climb. Some people also feel like they need to earn the downhill.
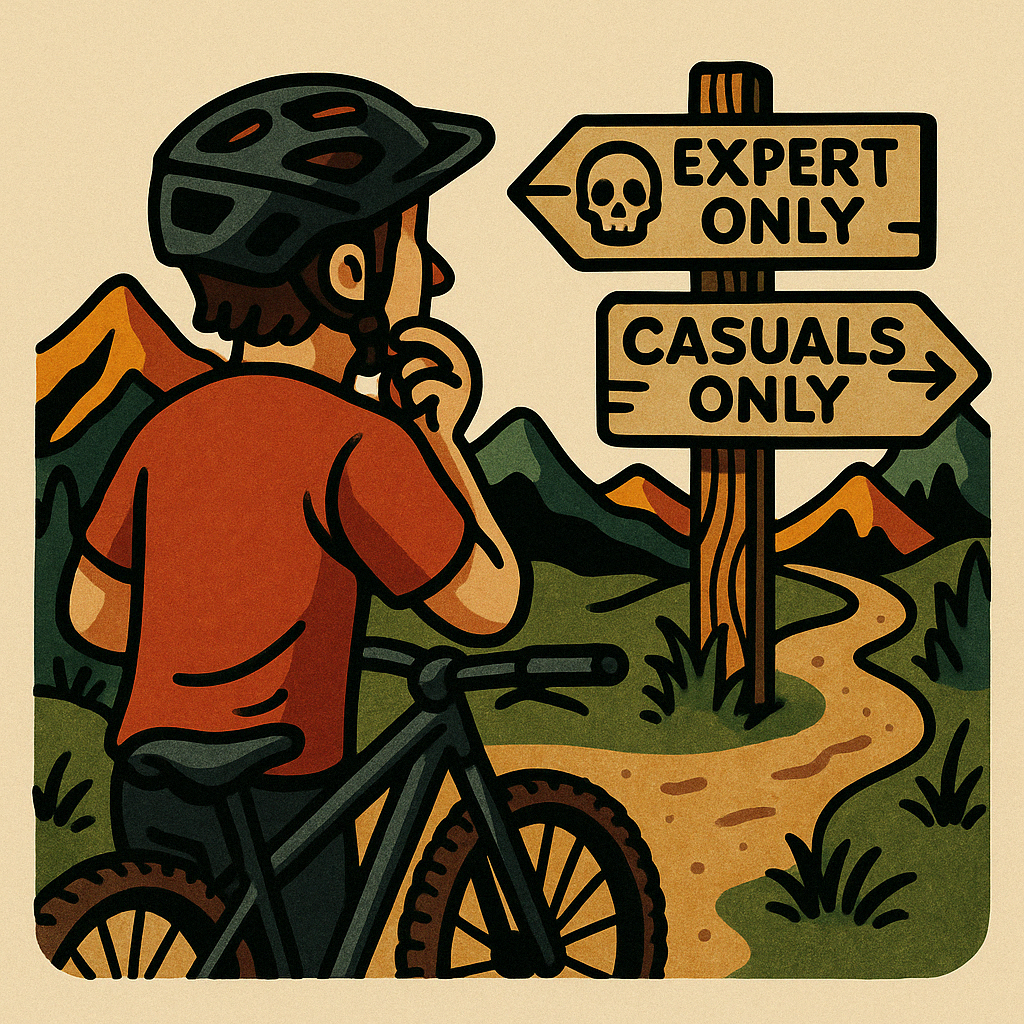
3. Know Your Limits (and Your Bike’s, Too)
It’s also important to know your limits. Both your physical limits and your ability on the bike. It’s easy to get carried away connecting trails and end up biting off more than you can chew. Build a route that you can ride at your own pace and enjoy the adventure. I also like to plan bug out routes if I do find myself running out of steam I know where I can cut my ride short if I need to.
Sometimes I will set a goal for my ride and build my route to meet it and other times I just want to go cruise around the foothills. But knowing how far I can ride and climb is very important. Recently I set a personal goal to climb 2,000' in one big uphill climb. I built my route to accomplish that, knowing it would have a fun downhill after all that suffering. I uploaded all that downhill GoPro footage to my YouTube channel. That 2,000 of climbing was over my limit, but I knew the route well and I paid attention to the spots in the route where the grade would be rough and it helped me manage my energy levels during the ride allowing me to accomplish my goal and get back safely.
I want to pause here for a moment because this is important. I often take people with me on my rides, and they often are surprised by how slow I ride at times. There are rides when I just want to enjoy being outside. I’m not a pro, I’m not usually riding with the goal to set personal records or trying to impress people on the internet. I’m simply soaking in each moment I get to spend outdoors and enjoy riding my bike.
Flow can be a state of mind; you don’t need to be bombing every descent or destroying yourself on a climb. I’ve taken plenty of breaks on the Kestrel climb just to enjoy the views. Don’t let the pressure to PR take away from your outdoor experience.
Tip: If your legs are turning to jelly halfway through a climb, or you’re eyeing a sketchy rock garden on a descent, it’s okay to take a 15-minute break and soak in the view, or even take a detour on a safer trail. There’s no shame in dialing it back and riding within your limits. The last thing you want is to be calling for medical transport because your ego got you into a situation that could’ve been avoided by knowing your limits.
4. Loop It!
When linking trails, I like to aim for a loop rather than a one-way route. Personally, I hate out-and-backs. If you follow me on Strava, you will see that I’m almost always riding loops. Loops allow you to start and finish at the same point, making parking and logistics way easier. Plus, there’s something super satisfying about completing a full circle on a ride!
Recently I rode up a portion of Bogus Basin road to access Corrals Trail and I didn't hate it as much as I thought I might. Buuuuut I still do my best to avoid road sections on my loops. I’m sure there are some great routes I’ve skipped over because of this preference, but I just can’t stand riding on the road.
If you’re looking for extra mileage or want to explore a bit more, adding an out-and-back section to your loop can be a great way to sneak in some extra trails. This is my go-to trick for exploration. I’ll plan a solid loop and add an out-and-back somewhere on a trail I haven’t ridden yet or that I’m curious about. It lets me get a feel for the trail, figure out which direction it flows best, and decide how I can incorporate it into another loop next time.
5. Don’t Forget to Include Break Spots
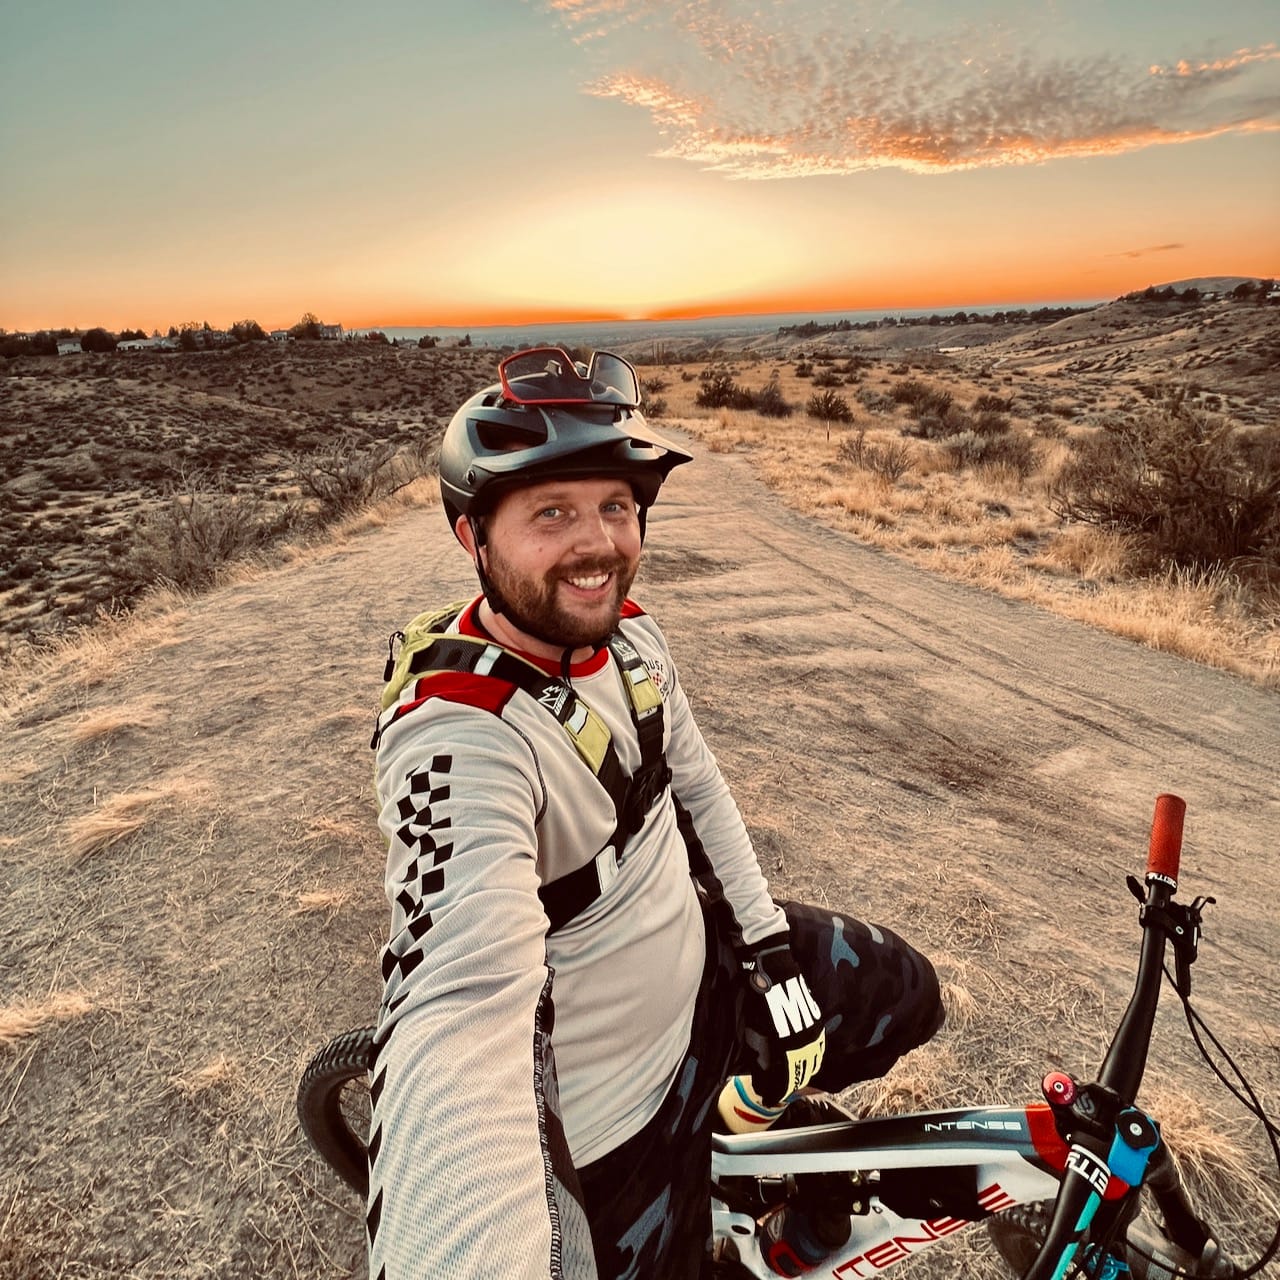
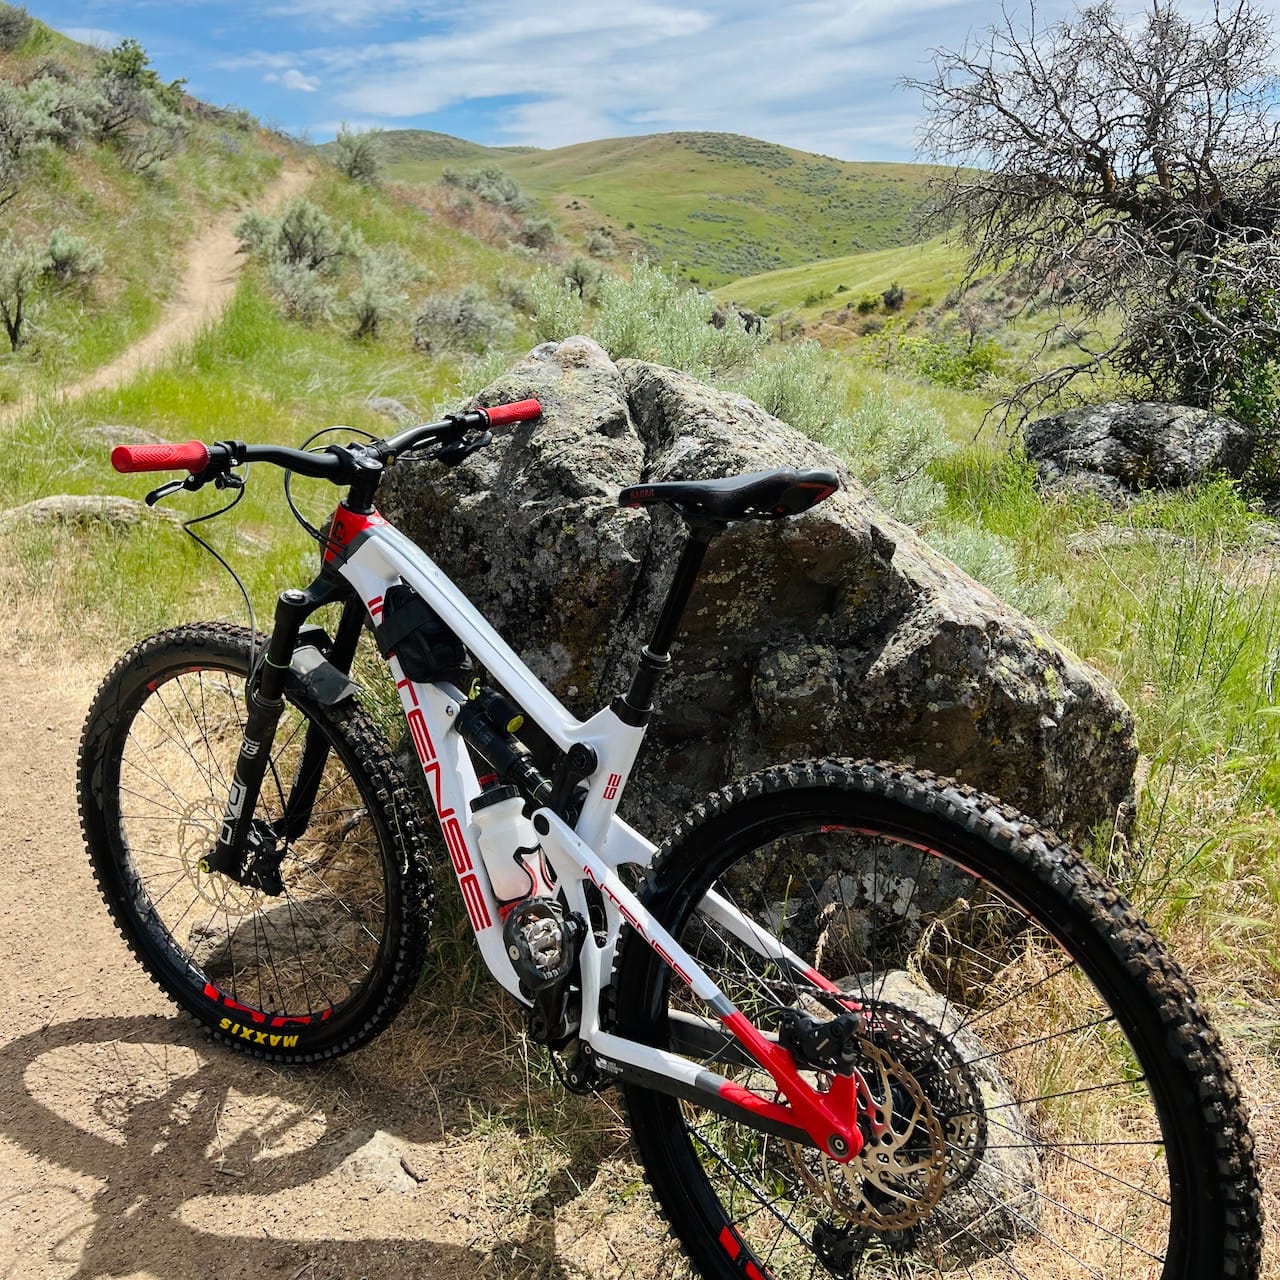
One thing I’ve learned: even the most epic custom ride needs a planned break or two. If your loop takes you past a scenic overlook or a shaded spot, take a minute to soak it all in. Not every ride has to be a race, right? Find a good spot for an apple and enjoy the view, snap a few photos, and make time to be grateful for your health. I can’t even count how many photos I have of my bike just leaning against random stuff. But I do this on purpose to remind myself where I’ve been and to build in a traditional habit into my rides. My favorite photo is when I prop my bike up against a trail marker. It’s a great way to capture where the photo was taken, and it’s cool to see how trail junctions change over time.
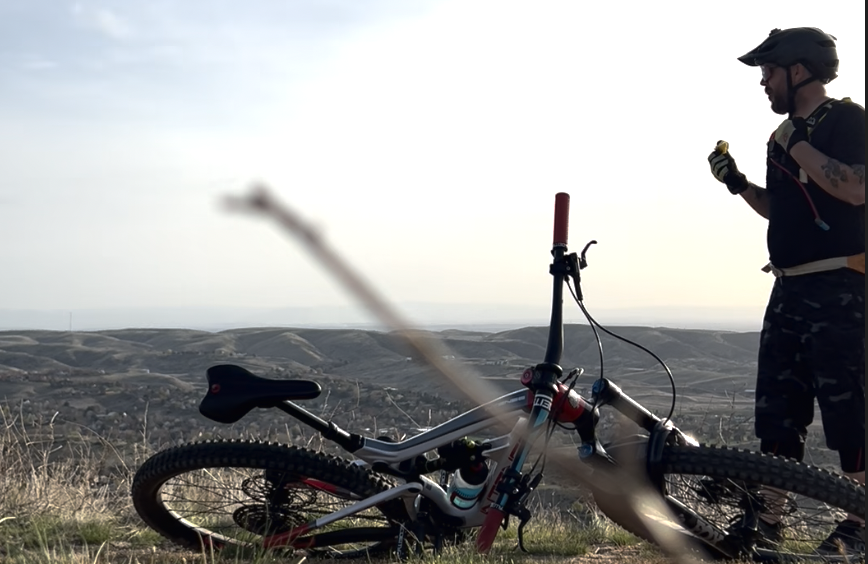
Lately I've been intentionally packing an apple so that I force myself to stop and eat on the hillside. Even just eating a few minutes on a ridge helps me to pause and take in the beauty of this epic little city of ours.
Tip: Some Boise trails offer amazing views of the city or foothills, so use those natural breaks as part of the adventure. Your moving time isn’t as important as enjoying your time outside.
Conclusion: Craft Your Own Adventure
For me, linking trails together is about crafting an experience that fits my riding style, mood, and the day’s goals. Whether you’re piecing together a mellow afternoon ride or a heart-pumping endurance challenge, you’ve got the freedom to create your perfect adventure. So next time you head out, try linking a few trails together and see where it takes you!
And hey, if you’ve got a killer route that you’ve built, share it! I’m always on the lookout for new trails and combos to try. Let’s keep the adventure going and feel free to check out my strava page to see all the saved routes I've posted.
Forever two wheels!
-Myles
PS
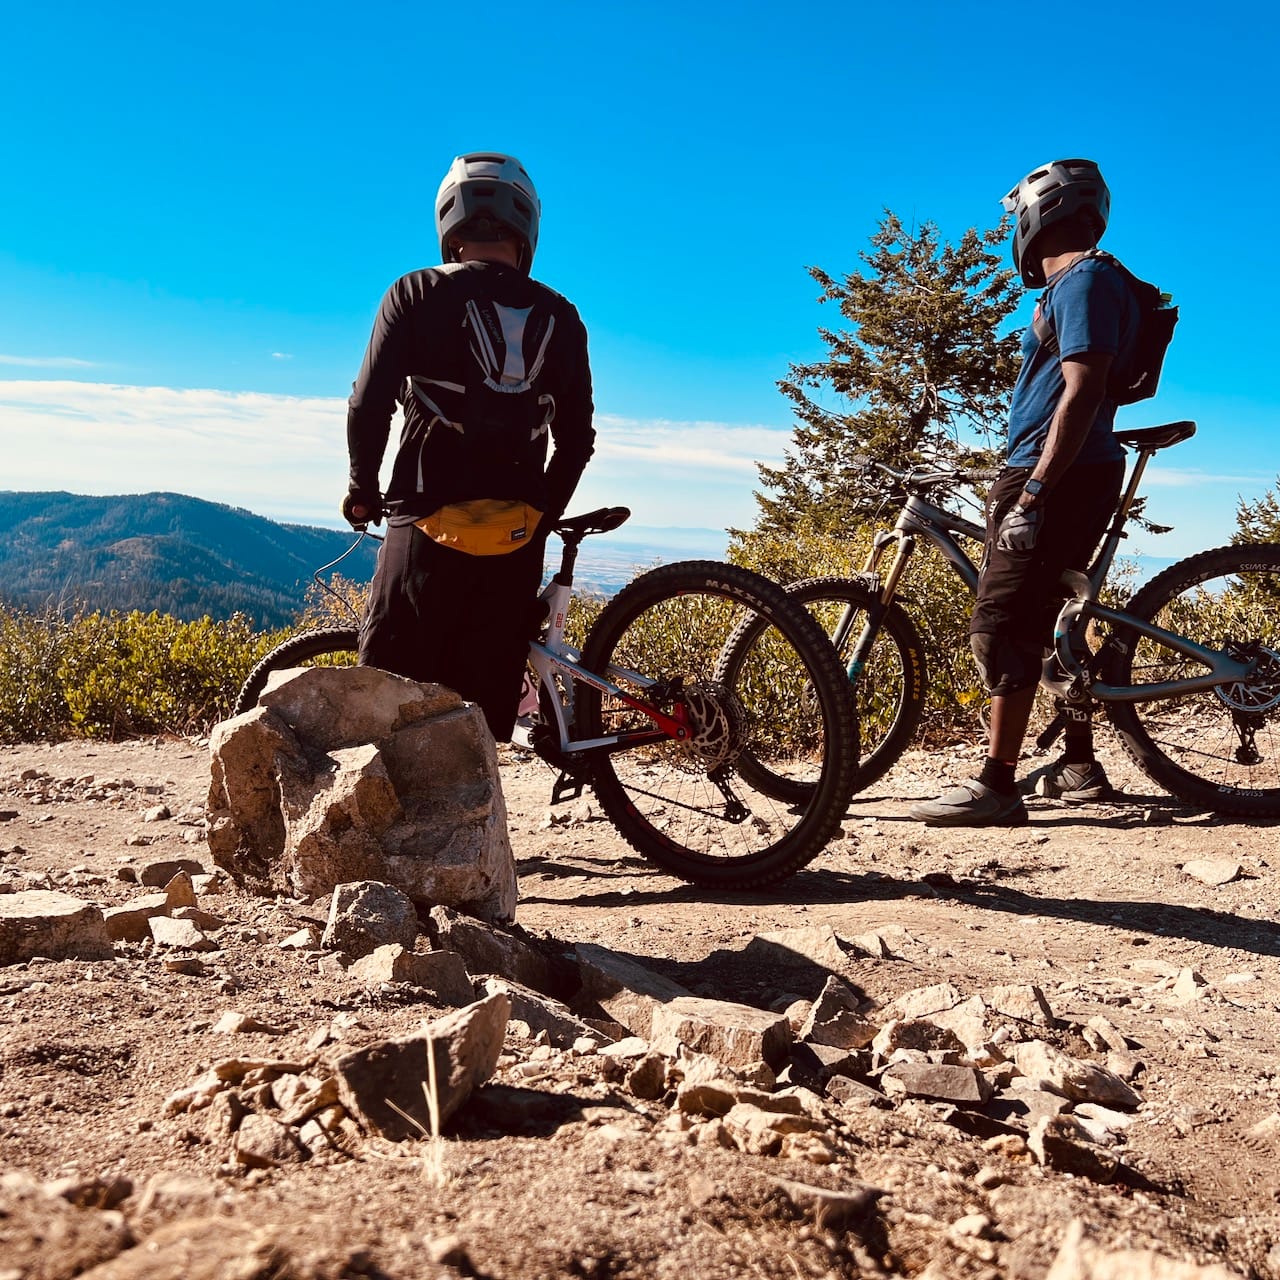
Wait for your buddies and chat. Don't just ride together, spend time together.